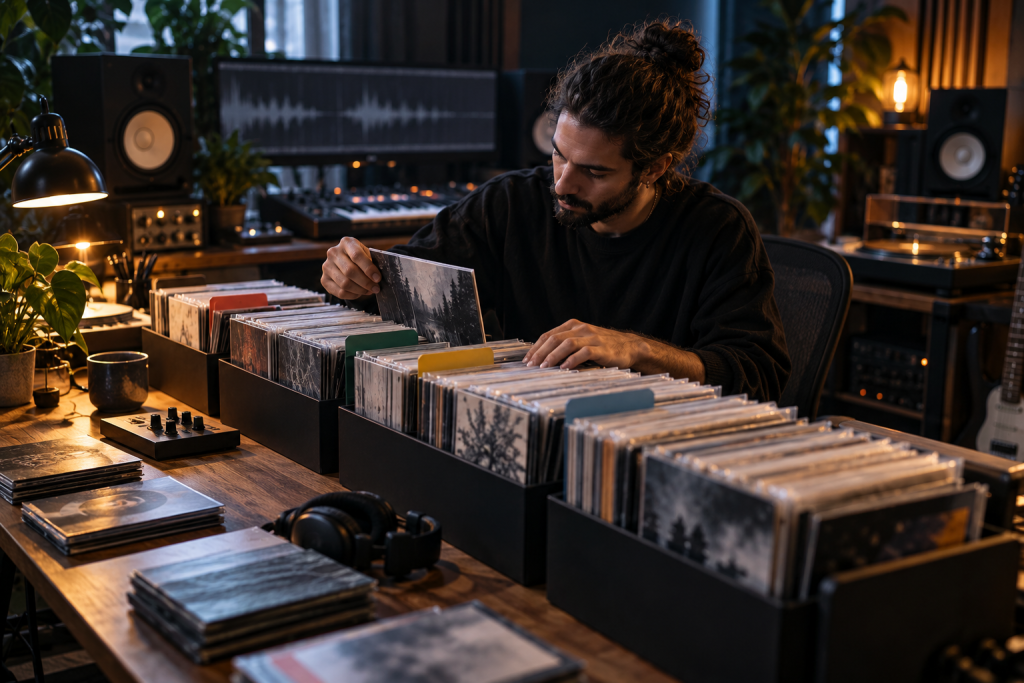
My samples folder hit 400GB last year. Sound design sessions became archaeological digs. I’d spend twenty minutes scrolling before touching a single kick. The collection wasn’t the problem. My filing system was.
Here’s what actually fixed it, plus the trade-offs nobody mentions when they tell you to “just tag everything.”
Why Bigger Libraries Make You Slower
A sample library is just pre-recorded audio you can drag into a session, whether that’s a single 808 one-shot or a full orchestral articulation set. The best ones share three traits: they load without friction, they contain sounds you couldn’t easily recreate yourself, and they sit in a mix without heavy processing.
None of that matters if you can’t find anything. Past a few thousand files, browsing breaks down. You stop auditioning and start searching. That’s the moment your library stops being an instrument and becomes a chore.
The fix isn’t a better library. It’s a structure you’ll actually maintain at 2am when you just want a snare that cuts.
Pick One Folder Root and Never Move It
Every sample you own lives under one path. Mine is /Samples at the top of a dedicated drive. No exceptions, no second library on the desktop, no “misc” folder on the system SSD.
This sounds obvious. It isn’t. Most bloated collections are bloated because files are scattered across three drives and a Downloads folder nobody cleaned since 2019. Consolidate first. Sort second.
Two reasons this matters. Your DAW’s search and your file browser’s search both depend on a predictable root. And when you eventually back up or migrate, you move one folder, not fifteen.
Separate Loops From One-Shots From Instruments
Sample libraries generally fall into three groups: online marketplaces with constantly updated one-shots and loops, loop-based plugins, and sample-based instrument plugins you play with a MIDI keyboard. Your folder tree should mirror that split, because each type gets used differently.
- One-shots: single hits. Kicks, snares, claps, stabs. You drag these in constantly.
- Loops: tempo-locked phrases. Riffs, drum patterns, vocal chops with a defined BPM.
- Instrument libraries: mapped across a keyboard, usually via Kontakt, Ableton Sampler, Reason NN-XT, or another sampler.
The instrument libraries are the ones people forget to organize. A pack like Samplephonics’ Tube Drums ships both raw 24-bit WAVs and instrument patches for most major sampler formats, including SFZ. If you leave those patches buried inside a ZIP-derived folder three levels deep, you’ll never load them. Move the patches to a dedicated Samplers root and point your DAW’s browser there once.
Name Files Like You’ll Read Them at 3am
Manufacturer filenames are a mess. You get things like SP_TD_Kick_04_140bpm_Gmin.wav next to kick_final_FINAL2.wav. Neither helps when you’re scanning.
A consistent pattern beats a clever one. Mine is:
[type]_[character]_[key]_[bpm].wav
So: kick_punchy_Cmin_140.wav. Type first, because that’s how you search. Character second, because that’s how you choose between two candidates. Key and tempo last, because they’re filters, not identifiers.
Do this in bulk with a renaming tool. Don’t do it by hand for ten thousand files. You’ll quit halfway.
Tag, But Only the Fields You’ll Use
Full metadata tagging is a trap. Every tutorial tells you to tag mood, genre, key, BPM, instrumentation, texture, and twelve other fields. Nobody fills those in consistently, including the people who wrote the tutorials.
Pick three. I use type, character, and source. That’s it. Type catches the obvious. Character separates “warm” from “bright” from “dirty.” Source tracks where it came from, which matters for licensing and for remembering which commercial pack was worth the money.
Tools like the free LANDR Samples companion plugin or your DAW’s own media browser handle this without a separate database. The point isn’t perfect metadata. It’s search that returns fewer wrong answers.
Know What’s Cleared and What Isn’t
This is the part that gets skipped, and it’s the part that can cost you a release.
Every sample carries two separate rights. Sound recording rights protect the actual audio file. Composition rights protect the melody, harmony, and lyrics. To use a sample legally, you generally need clearance for both, from different owners.
Royalty-free and pre-cleared libraries solve this up front. Splice, Loopmasters, Cymatics, LANDR Samples, and subscription services like Output Arcade all ship pre-cleared content, but each has its own license terms. Read them once and note the restrictions in your folder structure.
A practical approach: add a _LICENSE.txt in every commercial pack folder with the source name, purchase date, and a link to the terms. When a track picks up traction, you’ll have the paperwork without spelunking through old emails.
“Transformative use” doesn’t save you here. Chopping and pitching a sample may create more creative protection, but it doesn’t make it legal, and “transformative” isn’t a defense you can rely on. If you’re pulling from obscure material and hoping fair use covers you, get legal counsel first.
Prune Ruthlessly
Every pack you download dilutes the good stuff. I keep a _Keepers folder at the top of each category. When I audition a new pack, anything that genuinely works goes there immediately. The rest stays in an _Archive folder I don’t browse unless a project demands it.
Once a year, delete the archive. If you haven’t touched a pack in twelve months, you won’t miss it. This is the single highest-leverage habit in the whole system. A lean library you know beats a huge one you’re afraid of.
Fix the Backups Early
All of this collapses if the drive dies. Two local copies, one off-site. If you’re running a cloud-synced folder, watch your provider’s size limit. Big sample collections blow past free tiers instantly.
Backup is boring until it isn’t. Set it up before you have 400GB of irreplaceable material.
The Actual Workflow
Here’s the loop, in order:
- Download a new pack.
- Audition every file. This is the only step where listening is mandatory.
- Rename keepers to your naming pattern.
- Tag type, character, source.
- Move keepers to the appropriate subfolder. Move the rest to archive.
- Log the license source in the folder.
It takes twenty minutes per pack. Skip it and you’ll spend those twenty minutes every session, forever, hunting for a snare you already own.
I won’t pretend I keep this flawless. Some weeks I dump packs straight into the archive and sort them later, which means never. But when the system holds, sessions move faster, and that’s the only metric that matters. Organizing samples isn’t a creative act. It’s the thing that gives you room to be creative without the folder scrolling.