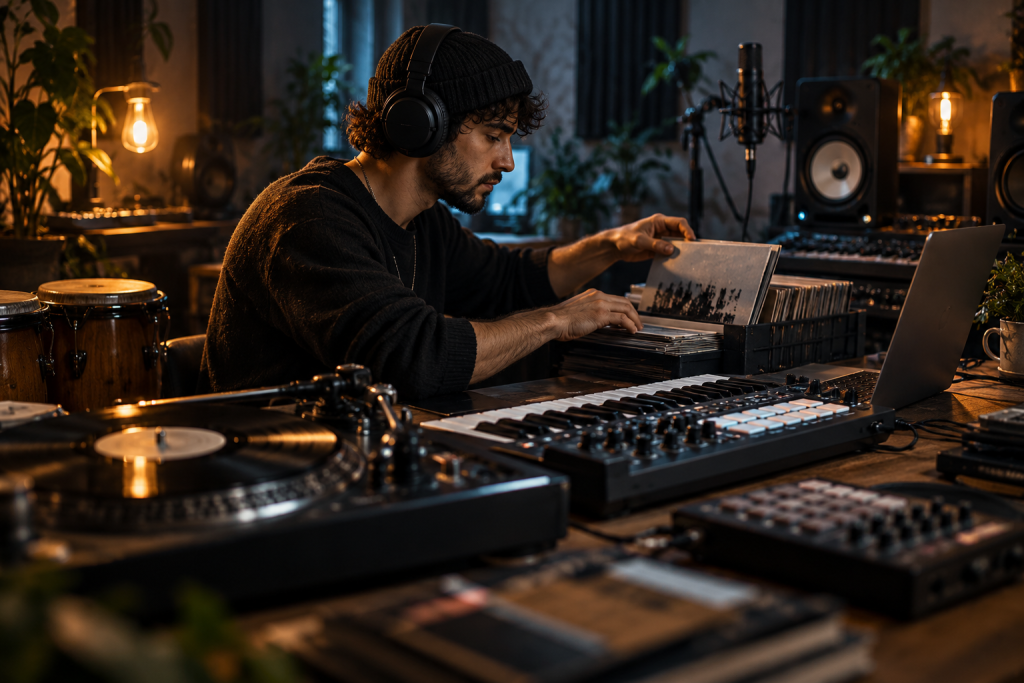
Making a sample pack is the least glamorous productive thing you can do in a DAW. It’s also one of the few things that keeps paying you back months later, every time you open a new project and reach for your own folder instead of scrolling Splice for the fourth time this week.
I’ve built a few of these, some good, some embarrassing. Here’s what actually matters if you want a pack that’s usable, not just a folder of 200 kick drums nobody asked for.
Decide what the pack is before you record a single thing
Most first-timers record whatever’s lying around and call it a pack. That rarely works. A pack needs a through-line: a genre, a mood, a texture, a source instrument. Samplephonics’s 513 Free Tube Drum Samples is a decent model here. They saturated drum hits through analog gear and the whole pack sells that one idea. Turns out they only planned about 80 samples and got carried away to over 500 (BPB, 2015), but the concept never wavered: tube-crushed drums.
So pick your thread. It could be “everything ran through a cassette deck” or “one drum machine, ten processing chains” or “found sounds from my kitchen“. The narrower, the better. A pack of “good drums” is a pack nobody opens twice.
Gear is the easy part, so don’t use it as an excuse
You probably already have more than enough. A phone mic, an SM58 clone, an audio interface, and whatever’s in your DAW. The Samplephonics pack was made with analog saturation chains, which is a nice luxury, but free tube-style saturation plugins get you most of the way there.
For one-shots, record dry and clean, then commit your character in the processing stage. That way you can build multiple versions from one source recording. For drums specifically, acoustic and electronic hits both work; Samplephonics’s pack mixed both (BPB, 2015), and honestly that variety is what makes a drum pack get used in hip-hop and electronic tracks instead of one.
If you’re recording acoustic sources, watch your gain staging and aim for at least 24-bit WAV. There’s no reason to ship 16-bit in 2026 unless you’re deliberately going for a lofi vibe.
The recording workflow that actually finishes
Two mistakes kill packs: one take per sound, and endless tweaking. Here’s the structure that’s worked for me.
Batch everything. Record all your source material in one session. Don’t process, don’t edit. Just get hours of raw audio into a folder.
Then chop. Load the raw stuff into your DAW, cut out the usable hits, and name them. Naming matters more than you think. “kick_01.wav” is useless. “kick_tube_tight.wav” tells future-you what they’re getting.
Then process. Make multiple versions of each key sound. Dry kick, saturated kick, pitched-down kick. Producers reach for options, not one-shots.
Then trim, normalize, and export. Not punishing levels, just consistent ones. Aim for around -1 dB peak on one-shots so the producer isn’t fighting your gain.
One-shots plus loops, plus instruments if you can
Sample library plugins and packs generally fall into three usable categories: loops, one-shots, and playable instruments built from samples (LANDR blog, 2025). You don’t need all three, but a pack that only has one-shot drums feels thin next to one that also gives the producer a mapped instrument.
The 513 drum pack shipped instrument patches alongside the WAVs for Kontakt, Maschine, Ableton, Reason, HALion, MachFive, and SFZ (BPB, 2015). That’s the standard to aim for. It means someone can load the pack and play it on a keyboard without dragging and dropping 200 files by hand. If you only have Kontakt, at least export an SFZ version. It’s free format and opens up the pack to a lot more producers.
Loops are worth including if you can actually play them. Jam a few bars of a beat or a bassline in key, bounce them clean, and give the stems some breathing room. Don’t loop a single bar and call it done; give the producer 4 or 8-bar variations.
Naming, tagging, and folder structure
Since most DAWs don’t have deep tagging, your filenames do all the work. Every file should answer two questions: what is it, and what makes it different?
Format I use: type_source_character_tempo.wav
So: snare_909_saturated_120.wav. Tempo in the name is a small thing, but if someone’s working in 140 and your loop is at 95, they need to know before dropping it in.
Folder structure, keep it boring:
- Pack Name
- Drums
- Bass
- Synths
- Loops
- Kits (instrument patches)
- README.txt
The README is where you state your license, credit preference, and a one-line description of the pack’s vibe. Yes, people read it. At least once.
License it properly, or don’t bother
This is where a lot of homemade packs fall apart. If you’re using only your own recordings and your own playing, you own everything and you can license it however you like. Clean.
But the moment you drag in a vocal phrase from a record, a drum break from a sample CD, or a synth line from a YouTube tutorial, you’ve entered sample clearance territory. Every sample has two layers of copyright: the sound recording and the composition (Major Mixing). You need permission for both, even if you replay a melody yourself.
For a pack you plan to distribute, stick to your own material or properly cleared sources. Don’t assume your pack is “too small to get noticed.” Indie songs have gone viral and then been taken down over unlicensed samples (Major Mixing). Same logic applies to your pack, except now you’ve got 200 other producers’ tracks attached to your name.
When you ship, include a plain license file. Something like: “Royalty-free for commercial and non-commercial use. Do not resell the samples as-is or as part of another sample pack.” That’s the standard for most libraries and it protects you without scaring producers off.
Distribution and honest expectations
Gumroad, Bandcamp, or your own site are the easiest places to start. Name-your-price works well for a first pack because it turns browsers into users and gets you feedback. TMPLT Sounds recently went the free name-your-price route through Gumroad for two drum packs, one of which was 75 kicks made with their own plugin (BPB, 2026). That’s the playbook: give away the entry point, build a list, then charge for the next one.
If you want to sell through a bigger platform, marketplaces like LANDR Samples, Loopmasters, and Splice take a cut but give you reach. The catch is curation. They reject packs that don’t earn their slot. So make your first pack great before pitching anywhere.
One more thing: don’t dump your whole pack into a single WAV file. Producers want individual files. The 513 drum pack shipped 513 separate 24-bit WAVs (BPB, 2015), and that granularity is exactly why a producer can grab two kick variations in fifteen seconds and skip the rest.
What separates a keeper pack from a folder of noise
You’ll know you’ve made a good one when you find yourself reaching for it in your own sessions. If you’re not using it, no one else will either.
Keep the concept tight. Ship a few sounds done well rather than hundreds done lazily. Give producers options in velocity and processing. Include instrument patches if your format allows. Name everything like a stranger will read it. And be straight about the license.
Then make another one, because the second pack is where you actually get good at this.